Animation videos are a powerful tool for storytelling, education, marketing, and entertainment. They can captivate your audience, simplify complex ideas, and convey emotions in a visually engaging way. Whether you’re a professional animator or a beginner looking to explore the world of animation, this step-by-step guide will help you create your own animation video.
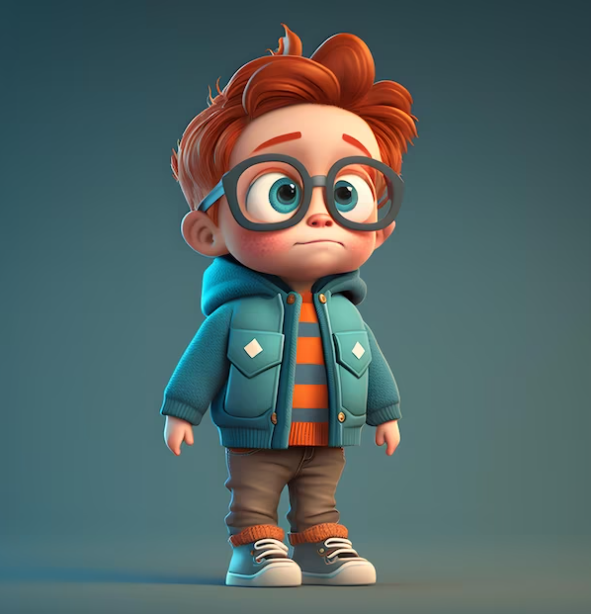
Define Your Purpose and Conceptanimation video
Before diving into animation, it’s crucial to define your purpose and concept. Ask yourself:
- What message or story do you want to convey?
- Who is your target audience?
- What style of animation will best suit your message?
Having a clear concept will guide every decision you make during the animation process.
Gather Your Tools and Software
To create an animation video, you’ll need the right tools and software. There are various options available, from beginner-friendly software like Vyond and Powtoon to more advanced programs like Adobe After Effects and Blender. Choose the one that matches your skill level and budget.
Storyboard Your Animation
Storyboarding is like creating a visual script for your animation. Sketch out each scene, including characters, backgrounds, and actions. This step helps you plan your animation’s flow and ensures you have all the assets you need before animating.
Create Your Characters and Assets
Depending on your chosen software, you may need to design or import characters, backgrounds, and props. Some software offers libraries of pre-made assets, while others require you to create them from scratch. Ensure that your assets align with your concept and style.
Animate Your Scenes
Now comes the fun part: animating your scenes. Use your storyboard as a guide and start bringing your characters and assets to life. Most animation software uses keyframes and timelines to control movement, so take your time to create smooth animations.
Add Audio and Music
Sound is a crucial element of animation. Record voiceovers, add sound effects, and select background music that complements your video. Sync audio with your animations for a more immersive experience.
Polish and Review
After completing your animation, take some time to review it. Look for any errors or inconsistencies in the animation, timing, or audio. Make necessary adjustments to ensure everything flows smoothly.
Export and Share
Once you’re satisfied with your animation, it’s time to export it in the desired format. Common formats include MP4 and MOV. Consider the platform where you’ll share your video, as different platforms may have specific requirements.
Promote and Engage
After creating your animation video, don’t forget to promote it. Share it on social media, your website, or relevant online communities. Engage with your audience, gather feedback, and use analytics to measure the video’s performance.
Tips for Success
- Keep your animations simple and concise, focusing on your core message.
- Experiment with different animation styles to find what works best for your concept.
- Invest time in perfecting your timing and pacing to make your animation more engaging.
- Don’t rush the editing and review process; attention to detail is key.
- Continuously learn and improve your animation skills by studying other animations and seeking feedback.
Creating animation videos can be a rewarding and creative process. With the right tools, planning, and dedication, you can bring your ideas to life and engage your audience in a visually compelling way. Remember that practice makes perfect, so don’t be discouraged if your first animations aren’t flawless. Keep refining your skills, and you’ll see your Goku animation videos improve over time.
Once your animation is complete, export it in the desired format and resolution. Double-check that everything looks and sounds as intended. Save multiple copies and backups of your project files to prevent any loss of data.


